


The short answer
Lighting an open fireplace works best from top to bottom. Put your thickest logs at the bottom, a layer of thinner wood on top, and right at the top the kindling with two fire starters. Light that top layer with a long fireplace lighter.
The fire then burns slowly downwards. That sounds unnatural, but it works better: the smoke from the wood underneath has to pass up through the flame, and burns on the way. Hence less smoke, a cleaner glass and far less poking.
This approach is called the Swiss method, or top-down. It needs no other wood and no other tools, just a different stacking order.
What it looks like in cross section
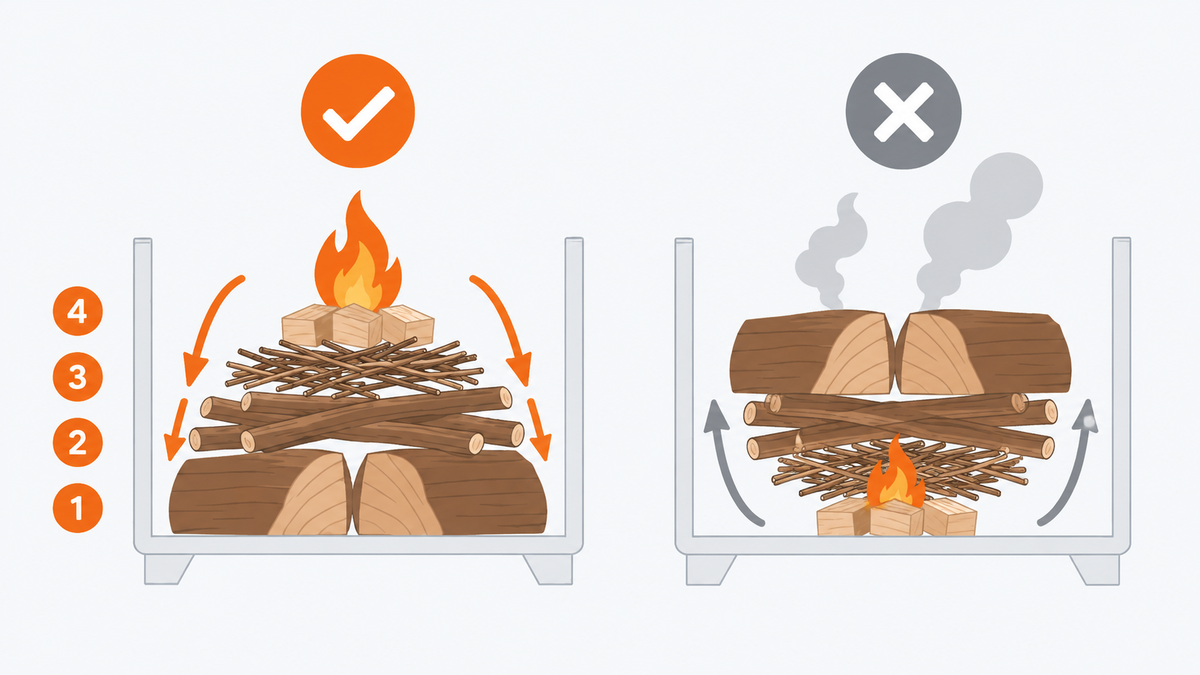
On the left the reversed stack, numbered from the bottom up: thick logs at the bottom (1), medium wood crosswise on top (2), then thin kindling (3) and the firelighters you light on top (4). The orange arrow shows what happens next: the fire works its way down.
On the right the way most people do it. The flame sits at the bottom, the smoke from the cold wood above goes up the chimney unburnt, and the fire often collapses before the thick logs catch.
- thick wood at the bottom, not on top
- each layer crosswise to the last
- you light it at the top
Why lighting from underneath works against you
The classic way is to light the kindling at the bottom. The flame shoots straight up and warms the thick logs above it, but that wood is still cold and starts giving off gases instead of burning.
Those gases are the smoke you see. They go up the chimney unused and settle on your glass and on the walls of the flue. Meanwhile your kindling is spent and the fire collapses, exactly at the moment the thick logs have not caught yet.
So you start poking. And every time you poke, you pull apart the structure the fire had just begun to build.
With the order reversed, the flame burns on top and the heat works its way down slowly. The wood below is dried and warmed gradually before its turn comes.
What you need for it
Nothing special, but three things have to be right.
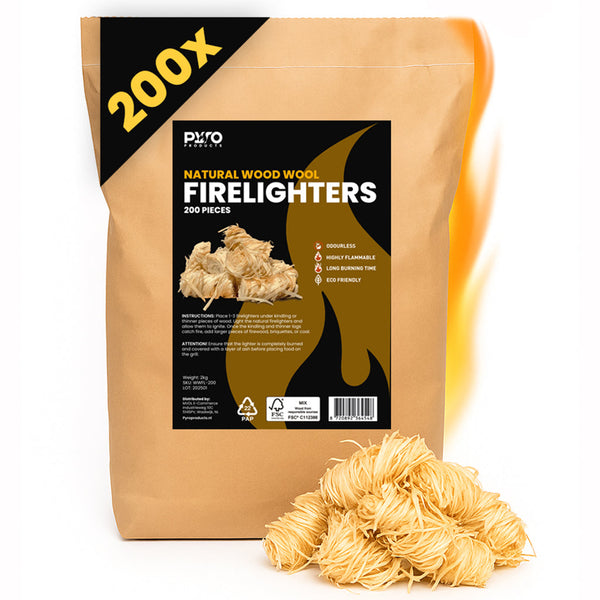
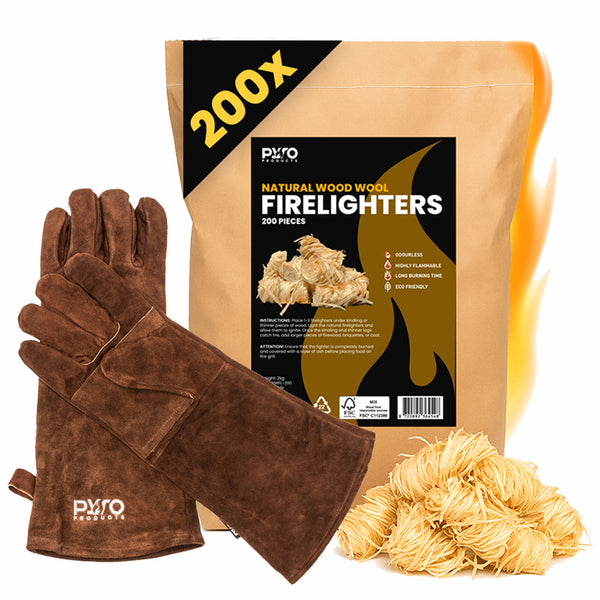
A firelighter that burns long enough. Paper manages thirty seconds and that is too short. Two pieces from a bag of wood wool firelighters 2 kg (200 pieces) burn for eight to ten minutes, and that is exactly what the top layer needs.
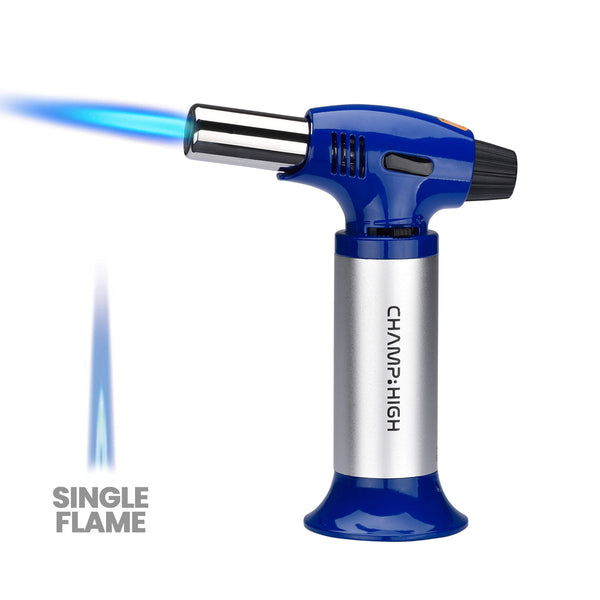
A lighter that reaches the top. With this method you light high up, so you do not have to put your hand into the fireplace. The Champ Tatin has a bent neck that lets you aim in any direction.
Dry wood. Above twenty percent moisture no method works. Let the wood stand indoors for a week in a felt log basket (60 litres) before you burn it.
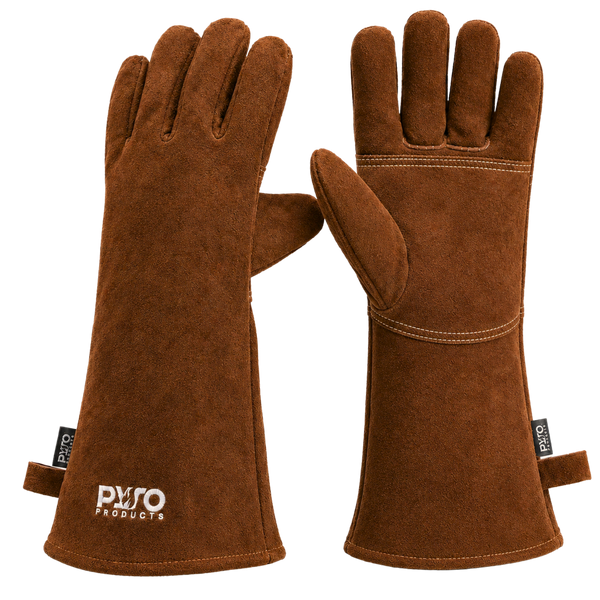
Gloves are handy as soon as you start adding wood. The heat resistant leather gloves handle the heat of a half hour old fire without trouble.
If you have nothing yet, it is all together in the fireplace basic pack: the firelighters, a lighter and the gloves in one go.
How to stack it
From the bottom up, and each layer crosswise to the last. That grid lets the air through.
Two or three thick logs at the bottom
Side by side, with a centimetre of space between them. Do not wedge them together; the fire needs those gaps to draw.
Medium wood crosswise on top
At right angles to the layer below. That creates a grid by itself instead of a closed stack.
A layer of thin kindling
Crosswise again, and a handful is enough. This is the layer that burns longest before the thicker wood underneath takes over.
Two firelighters on top, then light it
A little apart, spread across the width. Light them and then leave it alone: no poking, nothing added.
Air supply open, wait ten minutes
Fully open until the fire is running well. Only then do you turn it back until the flames just about stay steady.
Why you stack the wood crosswise
Laying every layer across the previous one is not aesthetics but technique. That way you keep gaps of a centimetre or two open everywhere, and through those gaps the air draws upwards past the burning wood.
If you stack everything in the same direction, the logs lie flat against each other. The flame then does not get between them and your fire burns only on the outside, while the core stays cold.
The second advantage you notice only later in the evening. A fire stacked crosswise sinks together evenly instead of toppling over, so your bed of glowing coals stays neatly under the wood.
That glowing bed is where the real yield sits, by the way. Flames look good, but the heat you feel in the room comes largely from the coals underneath. What you need in the way of tools for that is with the fireplace accessories.
Why those gaps make the difference
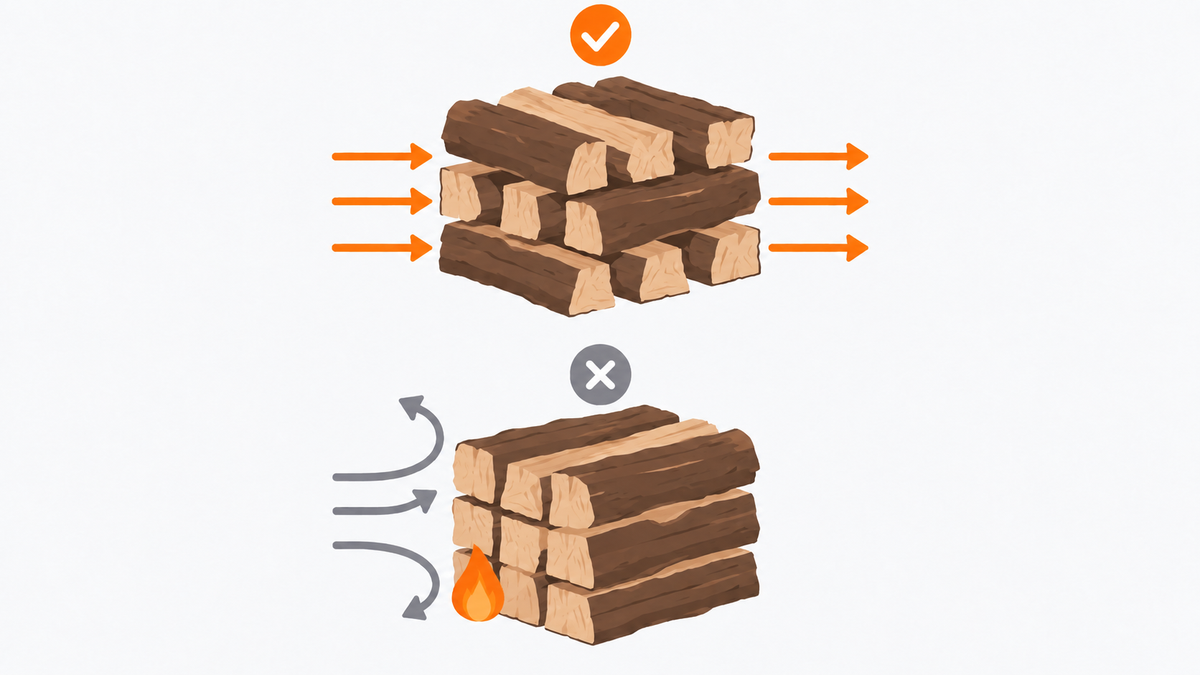
Above you see what happens when each layer lies at right angles to the last: the air goes in on one side and out on the other, straight through the stack. That is exactly where the fire burns.
Below, the same logs all lie in the same direction, tight against each other. The air cannot get between them and bounces off the side. The fire then burns only on the outside while the core stays cold.
- each layer turned a quarter turn
- gaps of one or two centimetres
- do not press down, stack loosely
What goes wrong when it still does not work
The fire collapses after five minutes. Then your kindling was too thick or too damp. Kindling should be the thickness of a thumb, not of a wrist.
More on which lighter is handiest for that is in the 5 best fireplace lighters.
Smoke comes into the room. The chimney is still cold and is not drawing. Hold a burning firelighter in the opening of the flue for half a minute, just above the fireplace. That warms the standing air and gets the draw going. Stay at that opening; fire never belongs in the flue itself.
The glass mists up anyway. Almost always wood that is too wet. A second cause is closing the air supply too soon.
Frequently asked questions
You stack in reverse: thick logs at the bottom, thinner wood on top, kindling at the top, and that is where you light it. This Swiss method makes the fire burn slowly downward, so the smoke has to pass through the flame and burns off after all.
Because the smoke from the wood underneath has to pass up through the flame and burns there. That gives less smoke, cleaner glass and less deposit in the flue. On top of that you hardly have to poke it.
Two, spread across the width of the top layer. With a cold chimney or thick kindling a third may join them. They burn for eight to ten minutes, and that is enough to get the layer below going.
Fully open, and it stays that way until the fire is running well. Reckon on about ten minutes. After that you turn the supply back until the flames just about stay steady. Closing it too soon gives smoke and misted glass.
Yes, and there the difference is often even bigger. A stove has a closed combustion chamber that smoke struggles to leave, so you see the gain of lighting from the top straight away on the glass.
Our conclusion
It needs no different wood and no different tools. Just reverse the order: thick at the bottom, thin on top, and light it there.
The first time it feels wrong to light a fire at the top. After one evening without poking and with clean glass you will not go back.
Related articles
 Fireplace
A gift for someone with a fireplace
 Fireplace
Which log splitter suits your firewood?
 Fireplace
Firelighters compared: wood wool or paraffin blocks?
More articles like this?
New tips, product comparisons and exclusive offers straight to your inbox. Plus 10% off your first order.